Hang Out With A Good Book! - Summer Reading Bulletin Board Idea
By Kayla • April 3, 2018

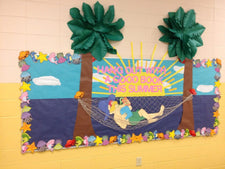
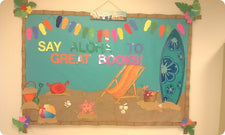
We just love this colorful summer bulletin board design submitted to us by Michelle Brinn! {Seriously, aren't those palm trees amazing?!} Through her colorful, thoughtful designs, it's not hard to see how much Michelle enjoys creating and decorating bulletin boards and we're certain her school is thankful that she shares her talents!
If you're on the lookout for a fun summer design for your classroom or library, you can't beat palm trees, a hammock, and a good book!
Hang Out With A Good Book!
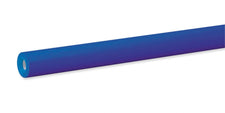
- Background: Cover the top half of the bulletin board with light blue bulletin board paper and the bottom half with royal blue paper to create an 'ocean' backdrop for the scene.
- Title: "Hang Out With A Good Book!"
- Border: How fun are the ocean animal accents that Michelle used to create a border?! It's colorful and unique! Of course, a tradiitonal ocean themed border would also work with the design as well.
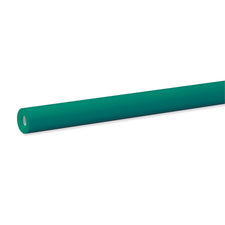
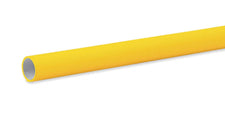
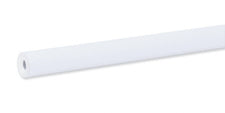
- Decoration: 1) The 'Oceanscape'. Cut a large half circle from yellow bulletin board paper, attaching it in the center of the board where the royal blue paper meets the light blue paper (or on the 'horizon' where the ocean 'meets' the sky). Create the sun's 'rays' with long strips of yellow and orange paper. To complete the 'oceanscape', cut fluffy cloud shapes from white construction paper and arrange them in the sky. 2) The Plam Trees. Seriously, we can't get over these palm trees! Cut the trunk shapes from brown bulletin board paper, then cut lots of large palm fronds from green bulletin board paper - i.e. a long leaf shape with fringed edges. When creating the tree, arrange the fronds around a central point (like you would a flower), twisting and tucking the branches in order to create the illusion that it is a three-dimensional palm tree. Michelle writes, "for the palm trees, the leaves are cut and hot glued until they look decent!" 3) The Hammock. Use a small piece of netting to create the hammock, draping it between the two trees and stapling it in place. 4) The Character. We recommend drawing the character freehand or finding a clip art image that can be enlarged, traced, and assembled! You can then add the props of your choice...
About the Author

Kayla Johnson


Disclaimer: The content on this page is for informational purposes only and reflects my personal experience and opinions. I’m not a financial advisor, and this is not financial advice. Please do your own research and consult with a qualified professional before making financial decisions. Some of the links on this page are affiliate or referral links, which means I may earn a commission or bonus if you use them. There’s no extra cost to you—and it’s a great way to support the site if you find the content helpful.
