Super Simple Snowman Gift Bag Craft for Kids

I don't know how you feel, but in my opinion gift wrapping supplies have become crazy expensive! If you have a treat to send home with your kiddos before winter break and want to add something extra special to the packaging, give this super cute snowman gift bag featured by Debbie on RainbowsWithinReach a try!
A Quick How To for Assembling the Bag
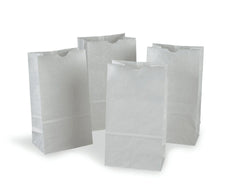
You'll need to start with a white paper bag (the size of the bag will depend on what treats you are sending home). Next, draw a square on black construction paper to match the width of the bag (you'll also need to draw a skinny rectangle for the brim that overhangs the bag by about an inch on each side). Before you cut out the shapes, stack the sheet of contruction paper on top of several others so you can save time by cutting 3-4 together. (Side Note: If you're anything like me and find yourself running around like a mad woman come holiday time, this idea is super handy!) You will also need to draw and cut out a skinny red rectangle the width of the paper bag to place right above the brim of the hat for a punch of Christmas color.
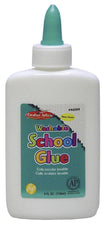
Once you have the hat pieces cut out, adhere them to the top of the paper bag with glue. Don't forget to leave about an inch of space at the top so you will have room to fold the bag closed! Then, glue a pair of wiggle eyes under the hat, an orange "carrot" cut from construction paper beneath the eyes, and black pieces of "coal" cut from construction paper under the nose for the snowman's mouth. And in no time at all, the cuteness factor of your treat bag multiplies ten-fold!
Once the treats have been placed inside, fold the top of the bag over and seal it with a staple. Or...for that extra touch, fold the top of the bag over and cut two slits close to the middle. Then, tie the bag closed with a small piece of Christmas colored ribbon!
