Tissue Paper Art - Spring Flowers

How pretty is this photo?!? I would be lying if I said I didn't spend a few minutes just gazing at it. Ah, the beauty of Spring. Makes me wish it was warm enough here to finally head outside! Fortunately there is always the option of bringing the beauty indoors. Check out this photo-inspired idea featured on Teaching in Room 6!
Spring Flower Tissue Paper Art
Supplies you will need to get started:
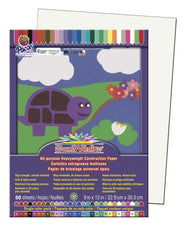
- White construction paper
- Brown crayons
- Blue watercolor paint
- Paint brushes
- Pencils
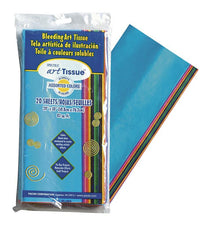
- Assorted color tissue paper (precut into small squares)
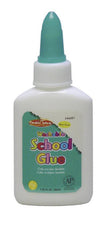
- Glue
Have your students start by using a brown crayon to draw tree branches on their white paper. The number of branches can be left up to the student, but make sure they draw a main branch 'coming out' from the side of the paper.
Then, ask them to paint their entire page using blue watercolor (they can paint right over the brown crayon). Some students will choose a lighter covering of blue by using more water, while others will paint over the area several times with less water to create a deeper blue. It's all up to the students and should end with a nice assortment of shades of blue.

Once the paint is dry, have each student select several tissue paper squares in two different colors (make sure they get several of each color). Then, piece-by-piece have them place a square of tissue paper around the end of their pencil, dip it in glue and stick it to one of their tree branches. They can choose to place each color onto the branches separately, or they can place one color on top of another for a two-color look.
Check out these examples completed by Stephanie's class. Wouldn't they make a beautiful Springtime display on a classroom wall or bulletin board? And check out the different shades of blue.


