Paper Plate Easter Bunny Craft

Looking for a simple craft to do with your kiddos this Easter holiday? Check out this cute paper plate bunny! The steps are easy to follow, students can personalize their creation with colorful bows/bow ties, and the finished products are sure to look super cute as part of your holiday decor!
Paper Plate Easter Bunny
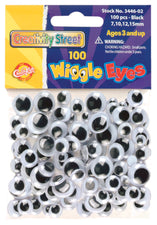
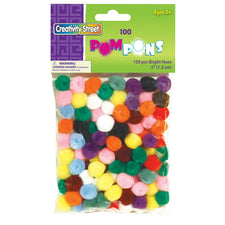
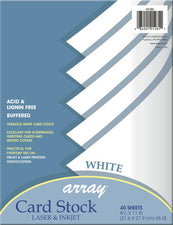
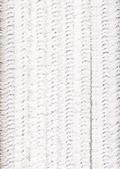
Provide students with a paper plate, two pieces of white card stock, two white chenille stems, one pink craft pom pom, and two wiggle eyes.
To assemble...
- Download the bunny ear template, print onto card stock, and cut out.
- Use the template to trace and cut two bunny ears from white card stock. Attach the ears to the back of the plate with craft glue.
- Use craft scissors to cut both chenille stems into three pieces (to create six total pieces).
- Place a dab of craft glue in the center of the plate. Arrange the chenille stem pieces on either side of the glue dab and place the pom pom in the middle to create the 'nose' and 'whiskers'.
- Finish off the face by adding wiggle eyes above the nose and whiskers.
- To personalize, freehand (or use the bow template) to create a bow or bow tie from colorful/patterned scrapbook paper.
To add something 'extra', we used black marker to add detailing to the plate and ears. You might also consider using a pink crayon to highlight the bunny's cheeks with spots and/or add a touch of pink to the ears.
